Troubleshooting CI scans
This document outlines troubleshooting steps for issues related to Semgrep scans in a CI environment. Refer to the following sections if you're seeing results reported on files that have not changed since the last scan, frequent timeouts, or other issues.
For issues on deployment or CI configuration, such as adding repositories, see the knowledge base articles in Semgrep in CI.
Reproducing the issue locally
To aid in debugging, you can reproduce some aspects of your Semgrep CI job locally. This enables you to inspect the logs and behavior through your terminal rather than in your CI provider's interface. Perform the following steps:
- Run the following command in your terminal:
semgrep login - After logging in, return to the CLI and enter the following:
SEMGREP_REPO_NAME=your-organization/repository-name semgrep ci
For example, given a GitHub repositoryvulncorp/juice-shop, the full command would be:SEMGREP_REPO_NAME=vulncorp/juice-shop semgrep ci
When running semgrep ci, Semgrep fetches rules and any other configurations specific to your CI environment. Setting SEMGREP_REPO_NAME is optional, but ensures that:
- Results are sent to the same project (either a repository or folder in a monorepo) in Semgrep AppSec Platform.
- Any project-specific configurations, such as file ignores, are also respected.
Troubleshooting GitHub
The first piece of information that the team at Semgrep uses are the GitHub Actions logs.
To retrieve a log, perform the following steps:
- Navigate to the main page of the GitHub repository you are troubleshooting or scanning.
- Click the Actions tab.

- In the Actions page, click the Semgrep workflow run that you want to retrieve logs for. The name depends on your configuration. By default, it is named Semgrep.
tip
Your repository may have different workflow runs, such as linters. To quickly browse through workflow runs, you can also click the name of your workflow, typically Semgrep under Actions in the navigation bar to view only Semgrep runs.
- Click the job name, typically semgrep/ci.
- You are taken to the specific job page. Click the gear icon > Download log archive.
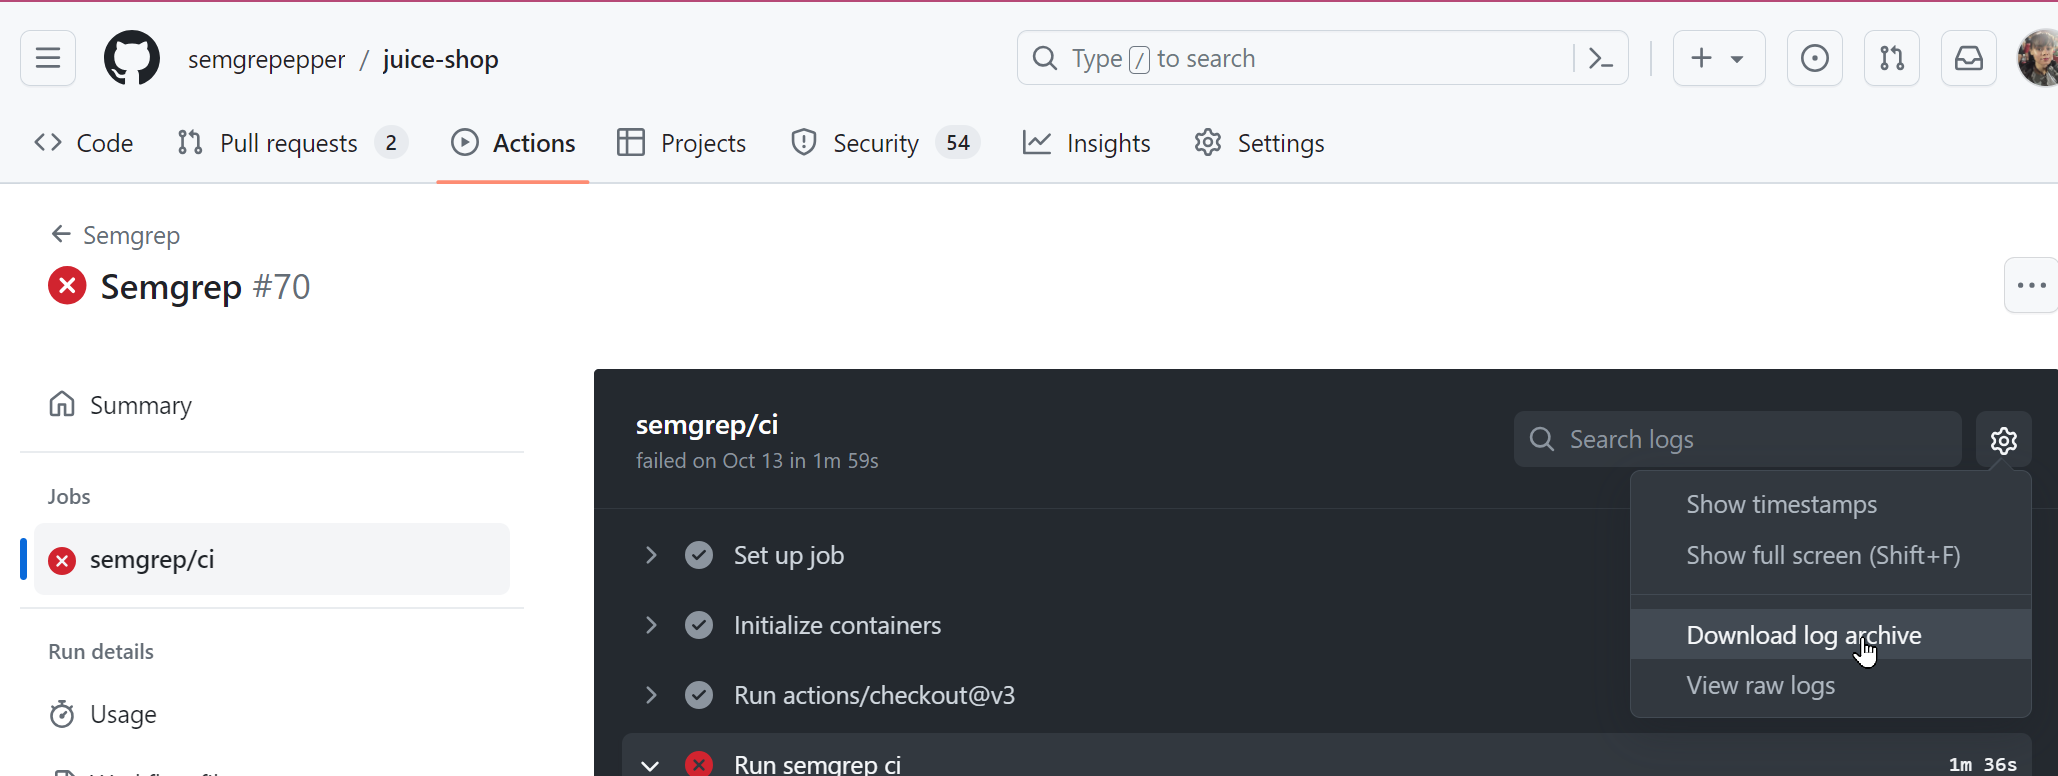
You have successfully downloaded a GitHub Actions log. You can send this as part of your ticket to Support.
Troubleshooting GitLab SAST
GitLab SAST includes and maintains a Semgrep integration called semgrep-sast for vulnerability finding.
Please visit GitLab’s SAST troubleshooting guide for help with general GitLab SAST issues.
The semgrep-sast CI job is slow
The semgrep-sast job should take less than a minute to scan a large project with 50k lines of Python and TypeScript code. If you see worse performance, please reach out to the Semgrep maintainers for help with tracking down the cause. Long runtimes are typically caused by just one rule or source code file taking too long. You can also try these solutions:
Review global CI job configuration
You might be creating large files or directories in your GitLab CI config's before_script:, cache:, or similar sections. The semgrep-sast job scans all files available to it, not just the source code committed to Git, so if for example you have a cache configuration of
cache:
  paths:
  - node_modules/
you should prevent those files from being scanned by disabling caching for the semgrep-sast job like this:
semgrep-sast:
  cache: {}
Exclude large paths
If you know which large files might be taking too long to scan, you can use GitLab SAST's path exclusion feature to skip files or directories matching given patterns.
SAST_EXCLUDED_PATHS: "*.py"will ignore the paths at:foo.py,src/foo.py,foo.py/bar.sh.SAST_EXCLUDED_PATHS: "tests"will ignoretests/foo.pyas well asa/b/tests/c/foo.py.
You can use a comma separated list to ignore multiple patterns: SAST_EXCLUDED_PATHS: "*.py, tests" will ignore all of the preceding paths.
semgrep-sast reports false positives or false negatives
If you're not getting results where you should, or you get too many results, the problem might be with the patterns Semgrep scans for.
You can review the search patterns in the rules directory of the semgrep-sast analyzer and report issues to the GitLab team. Refer to the Semgrep rule writing tutorial to help better understand these rule files. You can also refer to the Semgrep Registry which is a collection of 2,000+ Semgrep rules curated by Semgrep, Inc.
semgrep-sast crashes, fails, or is otherwise broken
Semgrep prints an error message to explain what went wrong upon crashes, and often also what to do to fix it.
The output of Semgrep is hidden by default, but GitLab provides a way to see it by setting an environment variable:
variables:
  SECURE_LOG_LEVEL: "debug"
Project-specific issues
A project is any repository you have added to Semgrep Cloud Platform for scanning. Refer to the following sections for issues in the Semgrep AppSec Platform > Projects page.
If a project reports the last scan "Never started"
This status means that your CI job never authenticated to Semgrep AppSec Platform.
Check your CI provider (such as GitHub Actions) for the latest Semgrep job execution.
If you can’t find a Semgrep CI job
The issue is likely with the CI configuration.
- Make sure that the branch you committed a CI job to is included in the list of branches the job is triggered on.
- Make sure that the CI configuration file has valid syntax. Most providers have a tool for checking the syntax of configuration files.
If a Semgrep CI job exists
Check the log output for any hints about what the issue is.
- If the logs mention a missing token or an authentication failure, you can get a new token from the Settings > Tokens page of Semgrep AppSec Platform, and set it as
SEMGREP_APP_TOKENin your CI provider's secret management UI. - Alternatively, if this is the first scan after adding a new GitHub repository, and the repository is a fork, check your Actions tab to see if workflows are enabled:
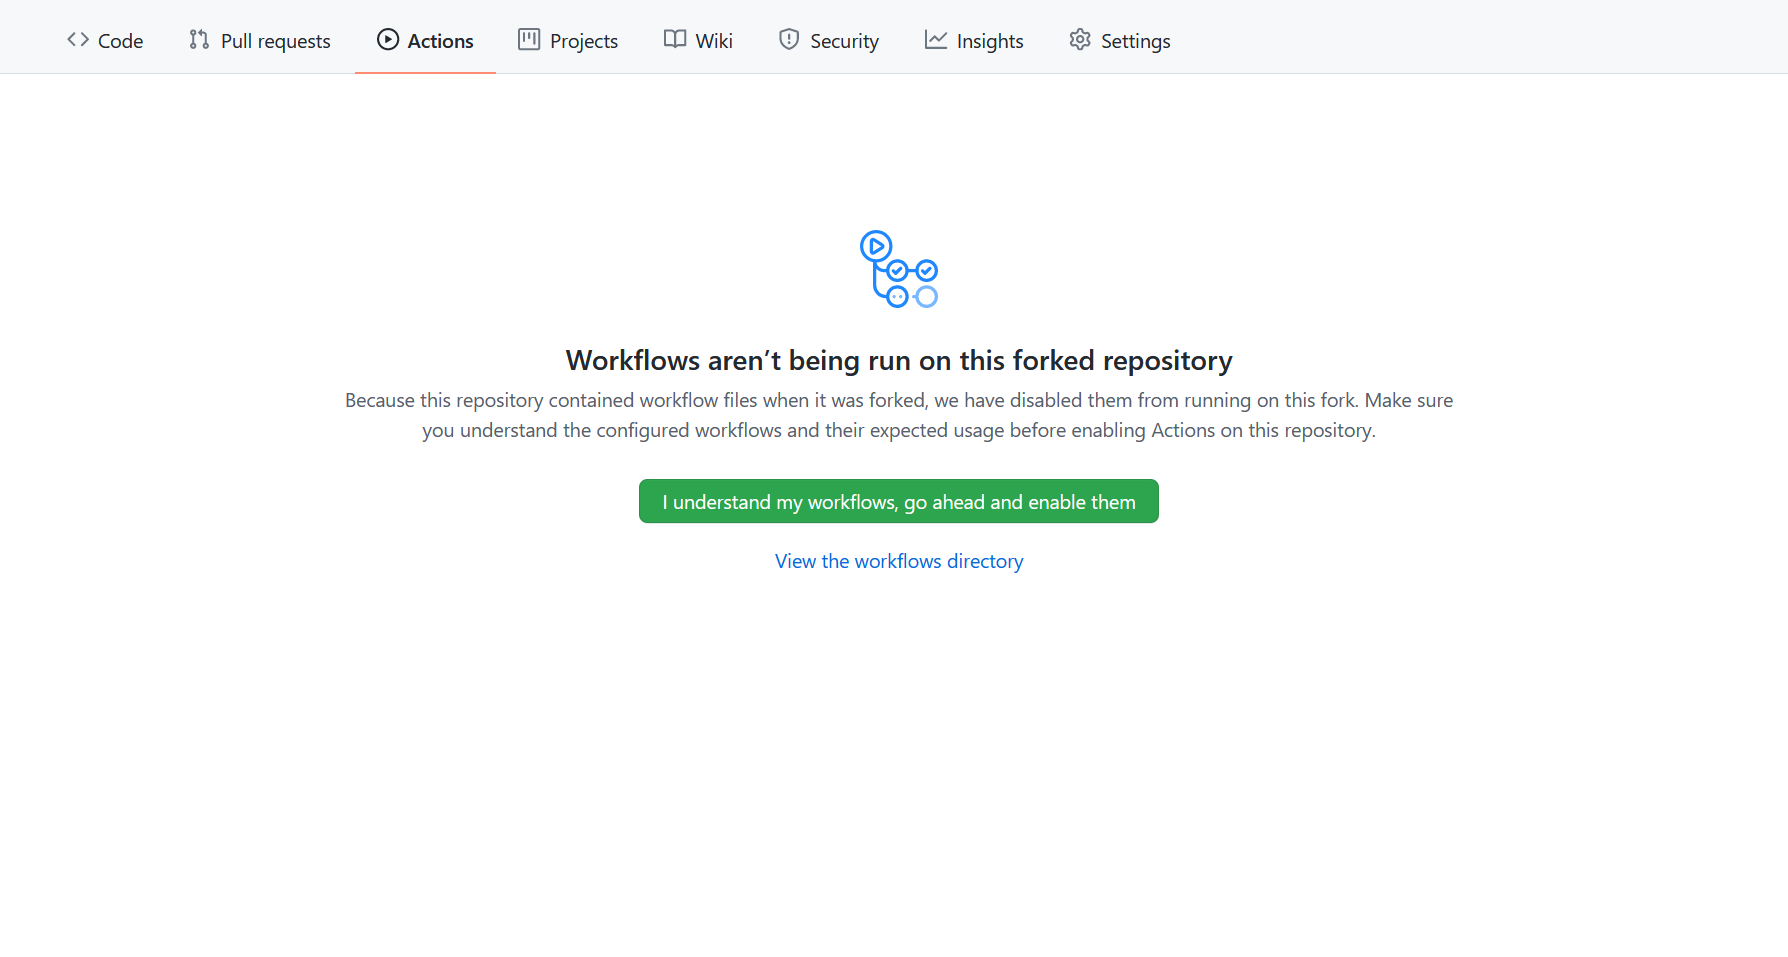
- Enable workflows by clicking I understand my workflows, go ahead and enable them to allow Semgrep to scan.
If a project reports a scan 'Never finished'
Most often, this status means that the job started and authenticated correctly, but failed or was canceled before completion. Check your CI provider (such as GitHub Actions) for the log output of the latest Semgrep job execution. In most cases, you will see an error message with detailed instructions on what to do.
Sometimes, this status may be shown when the scan has been running for a long time (more than an hour) and is still in progress. Scans that eventually produce results will be accepted by Semgrep AppSec Platform, even if this message is shown.
If the job is aborted due to taking too long
Many CI providers have a time limit for how long a job can run. If your CI scans regularly take too long and fail to complete:
- Please reach out to the Semgrep team for help with tracking down the cause. Semgrep scans most projects with hundreds of rules within a few minutes, and long run times are often caused by just one rule or source code file taking too long.
- To optimize run times, use Semgrep's diff-aware scanning in pull requests and merge requests to skip scanning unchanged files. For more details, see Semgrep's behavior.
- Skip scanning large and complex source code files (such as minified JS or generated code) if you know their path by adding a
.semgrepignorefile. See how to ignore files & directories in Semgrep CI.
Not finding what you need in this doc? Ask questions in our Community Slack group, or see Support for other ways to get help.